Windowsill Herb Garden: A Beginner’s Guide
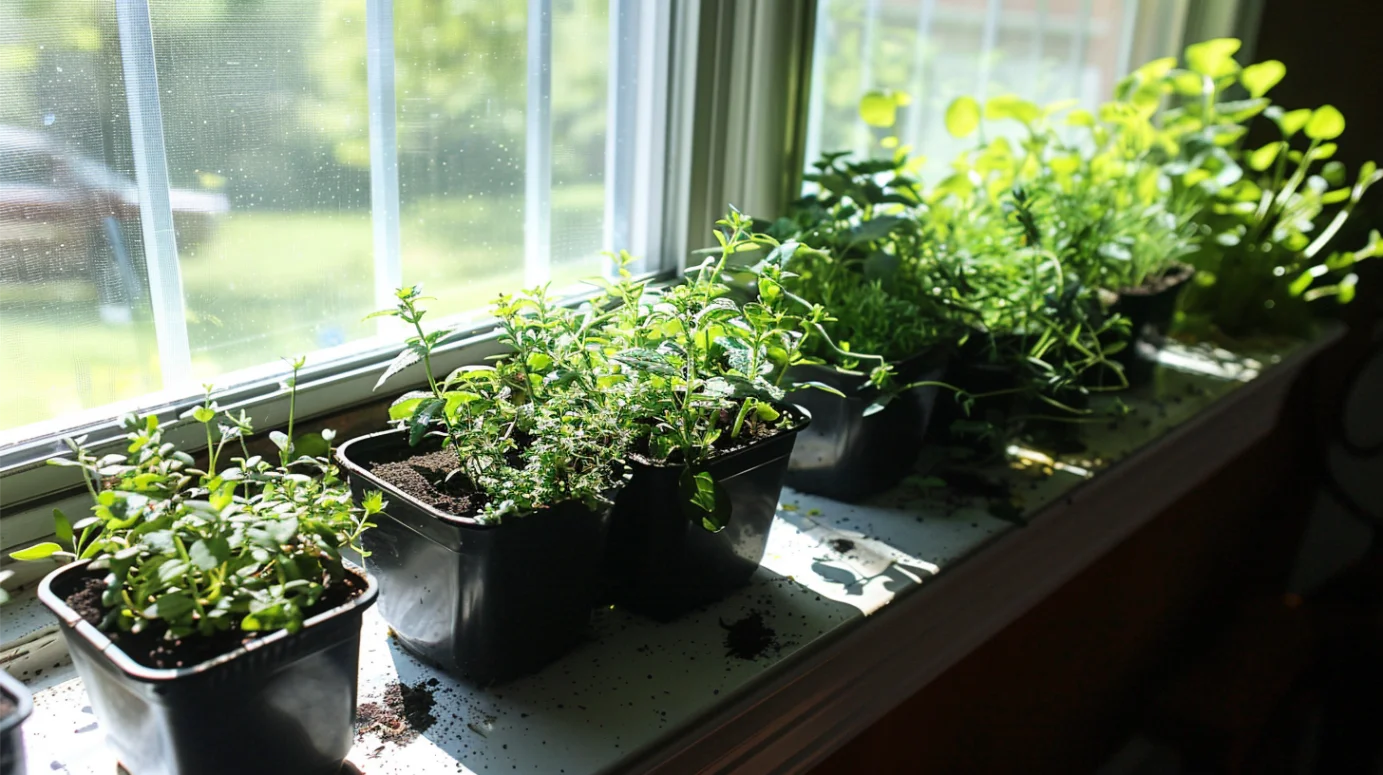
Welcome to the wonderful world of windowsill herb gardening! If you’ve ever dreamed of having fresh, aromatic herbs at your fingertips but thought you lacked the space or green thumb, this guide is for you. A windowsill herb garden is the perfect solution for apartment dwellers, busy professionals, or anyone looking to add a touch of nature to their home. In this comprehensive guide, we’ll walk you through everything you need to know to create and maintain your very own thriving windowsill herb garden.
Why Start a Windowsill Herb Garden?
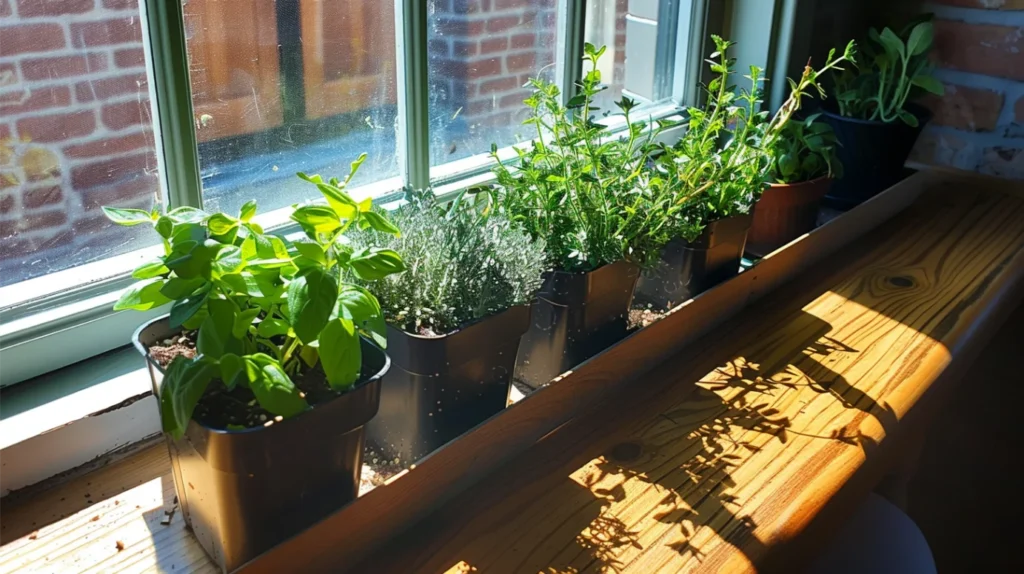
Before we dive into the nitty-gritty of creating your herb garden, let’s explore why it’s such a fantastic idea:
- Fresh Flavors at Your Fingertips: Imagine reaching over to snip some fresh basil for your pasta sauce or grabbing a sprig of mint for your mojito. With a windowsill herb garden, these culinary luxuries become everyday realities.
- Cost-Effective: Store-bought fresh herbs can be expensive and often go to waste. Growing your own ensures you always have what you need without breaking the bank.
- Health Benefits: Herbs are packed with vitamins, minerals, and antioxidants. Having them readily available encourages you to incorporate more of these nutritious powerhouses into your diet.
- Natural Air Fresheners: Many herbs, like lavender and rosemary, naturally freshen the air in your home with their pleasant aromas.
- Stress Relief: Gardening, even on a small scale, has been shown to reduce stress and improve mood.
- Educational Opportunity: For families with children, a windowsill herb garden can be a great way to teach about plant life cycles, responsibility, and where food comes from.
For more gardening tips and home hacks, visit Garden and Home Hacks. Whether you’re a seasoned green thumb or just starting out, we’ve got something for everyone. Happy planting!
Now that we’ve piqued your interest, let’s get started on creating your very own windowsill herb garden!
Choosing the Right Location
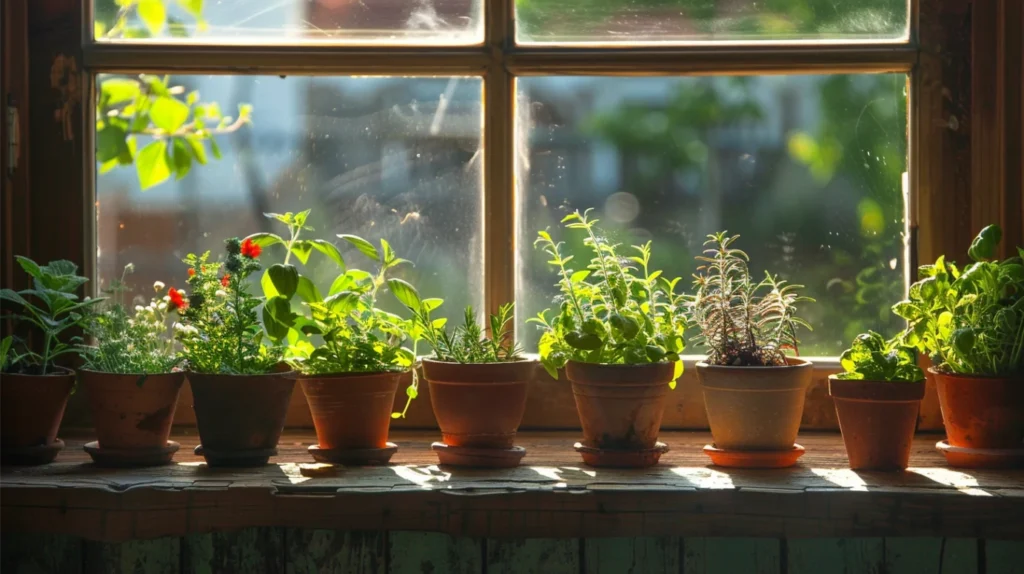
The success of your windowsill herb garden largely depends on selecting the right location. Here’s what to consider:
Sunlight
Most herbs thrive in full sun, which means they need at least 6 hours of direct sunlight daily. South-facing windows are typically ideal, but east or west-facing windows can also work well. If you’re unsure about the amount of sunlight your windowsill receives, observe it throughout the day or use a sunlight meter app on your smartphone.
Temperature
Herbs generally prefer temperatures between 60-70°F (15-21°C). Most indoor environments fall within this range, but be mindful of extreme temperature fluctuations near windows, especially in winter.
Air Circulation
Good air circulation helps prevent fungal diseases and promotes stronger plant growth. Ensure your herbs aren’t cramped together and consider occasionally opening the window to allow fresh air in.
Accessibility
Choose a spot that’s easy for you to reach. You’ll be watering, pruning, and harvesting regularly, so convenience is key.
Selecting Your Herbs
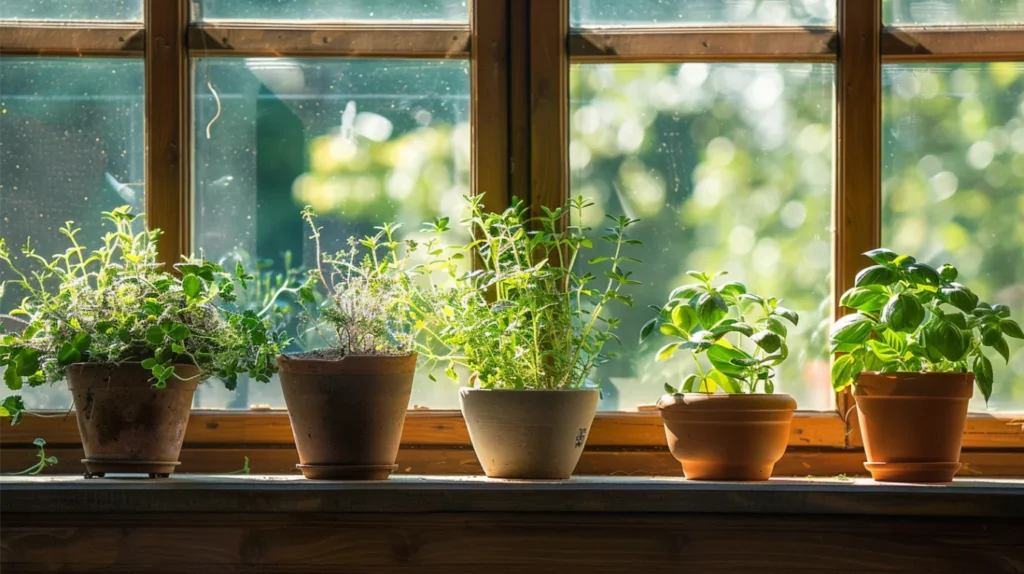
Now comes the fun part – choosing which herbs to grow! Here are some popular options that do well in windowsill gardens:
- Basil: A culinary staple, basil loves warmth and sunlight.
- Mint: Easy to grow (sometimes too easy!), mint prefers partial shade.
- Chives: These hardy plants are great for beginners and add a mild onion flavor to dishes.
- Parsley: Available in curly and flat-leaf varieties, parsley is versatile and rich in vitamins.
- Rosemary: This fragrant herb needs excellent drainage and likes it on the drier side.
- Thyme: A low-maintenance herb that pairs well with many dishes.
- Cilantro: Love it or hate it, this herb is easy to grow and widely used in various cuisines.
- Oregano: This Mediterranean herb is drought-tolerant and full of flavor.
When selecting herbs, consider your cooking preferences and the amount of care each herb requires. It’s often best to start with 3-4 varieties and expand as you gain confidence.
Essential Supplies
Before you start planting, gather these supplies:
- Containers: Choose pots that are at least 6 inches deep with drainage holes. Terracotta pots are great for herbs as they allow excess moisture to evaporate.
- Potting Soil: Use a well-draining, organic potting mix specifically formulated for herbs.
- Seeds or Seedlings: While growing from seeds can be rewarding, starting with small plants (seedlings) will give you a head start.
- Watering Can: A small watering can with a narrow spout will help you water precisely without making a mess.
- Pruning Shears: For harvesting and maintaining your herbs.
- Plant Labels: To keep track of what you’ve planted and when.
- Fertilizer: A balanced, water-soluble fertilizer suitable for herbs.
- Pebbles or Gravel: For improving drainage and catching excess water.
- Spray Bottle: For misting herbs that prefer higher humidity.
Planting Your Herbs
Now that you have everything you need, it’s time to get your hands dirty! Follow these steps to plant your herbs:
- Prepare Your Containers: If using new pots, rinse them out. For all pots, cover the drainage holes with a small piece of mesh or a coffee filter to prevent soil from escaping.
- Add Drainage Material: Place a layer of pebbles or gravel at the bottom of each pot to improve drainage.
- Fill with Soil: Add potting mix to about 1 inch below the rim of the pot. Gently tap the pot on a flat surface to settle the soil.
- Plant Your Herbs:
- For seedlings: Make a hole in the soil slightly larger than the root ball. Gently remove the plant from its nursery container and place it in the hole. Fill in with soil and pat down gently.
- For seeds: Follow the planting depth instructions on the seed packet. Generally, plant herb seeds about 1/4 inch deep and cover lightly with soil.
- Water Thoroughly: Give your newly planted herbs a good drink, allowing water to drain from the bottom of the pot.
- Label Your Plants: Add plant labels to each pot so you can easily identify your herbs.
- Arrange on Your Windowsill: Place your pots on the windowsill, ensuring they’re not overcrowded.
Watering and Maintenance
Proper care is crucial for a thriving herb garden. Here are some tips to keep your herbs happy:
Watering
Herbs generally prefer their soil to dry out slightly between waterings. To check if your herbs need water, stick your finger about an inch into the soil. If it feels dry, it’s time to water. Water deeply until you see it draining from the bottom of the pot.
Remember: It’s better to underwater than overwater. Most herbs are more tolerant of dry conditions than soggy soil.
Fertilizing
Feed your herbs with a balanced, water-soluble fertilizer every 4-6 weeks during the growing season (spring and summer). Dilute the fertilizer to half the recommended strength to avoid overfertilizing, which can lead to less flavorful herbs.
Pruning
Regular pruning encourages bushier growth and prevents your herbs from becoming leggy. Pinch off the top set of leaves on each stem when your plant reaches about 4 inches tall. Continue to harvest regularly to maintain shape and promote growth.
Rotating
Rotate your pots a quarter turn each week to ensure all sides of the plant receive equal light exposure. This promotes even growth and prevents your herbs from leaning towards the light source.
Pest Control
Keep an eye out for common pests like aphids, spider mites, and whiteflies. If you spot any, try removing them with a strong spray of water or wiping the leaves with a solution of mild soap and water.
Harvesting Your Herbs
One of the joys of having a windowsill herb garden is using your fresh herbs in cooking. Here are some harvesting tips:
- Harvest in the Morning: This is when the plant’s essential oils are most concentrated, giving you the best flavor.
- Use Clean, Sharp Scissors: This prevents damage to the plant and reduces the risk of disease.
- Never Remove More Than 1/3: Of the plant at one time to ensure it can recover and continue growing.
- Harvest Often: Regular harvesting encourages new growth and keeps your plants bushy and productive.
For most herbs, you can simply snip off leaves or stems as needed. However, some herbs have specific harvesting techniques:
- Basil: Pinch off individual leaves or cut stems just above a set of leaves.
- Cilantro and Parsley: Cut entire stems from the base of the plant.
- Chives: Cut leaves about 2 inches above the soil.
- Rosemary and Thyme: Snip off sprigs as needed.
Troubleshooting Common Issues
Even with the best care, you might encounter some challenges. Here are solutions to common problems:
Yellowing Leaves
- Cause: Often due to overwatering or poor drainage.
- Solution: Allow the soil to dry out more between waterings and ensure your pots have good drainage.
Leggy Plants
- Cause: Insufficient light causing the plant to stretch towards the light source.
- Solution: Move to a sunnier location or supplement with grow lights.
Wilting
- Cause: Could be underwatering or overwatering.
- Solution: Check soil moisture. If dry, water deeply. If wet, allow to dry out and improve drainage.
Pest Infestation
- Cause: Various insects can attack indoor herbs.
- Solution: Remove pests manually, use insecticidal soap, or try natural remedies like neem oil.
Brown, Crispy Leaves
- Cause: Low humidity or direct heat (like from a radiator).
- Solution: Mist plants regularly or use a pebble tray filled with water to increase humidity.
Creative Uses for Your Homegrown Herbs
Now that you have a flourishing herb garden, let’s explore some creative ways to use your harvest:
- Herbal Teas: Fresh mint, lemon balm, or chamomile make delightful homemade teas.
- Flavored Oils and Vinegars: Infuse olive oil or vinegar with rosemary or thyme for gourmet salad dressings.
- Herb Butter: Mix chopped herbs into softened butter for a delicious spread.
- Pesto: Not just for basil! Try making pesto with other herbs like cilantro or parsley.
- Herb Salt: Blend dried herbs with sea salt for a flavorful seasoning.
- Cocktail Garnishes: Fresh mint, basil, or rosemary can elevate your homemade cocktails.
- Natural Air Fresheners: Hang bundles of dried lavender or rosemary in your closet or car.
- Homemade Beauty Products: Many herbs can be used in DIY face masks, scrubs, or bath soaks.
- Herbal Ice Cubes: Freeze herbs in ice cube trays with water or fruit juice for pretty, flavorful drinks.
- Culinary Bouquet Garni: Tie together sprigs of thyme, parsley, and bay leaf to flavor soups and stews.
Expanding Your Herb Garden
As you become more confident in your herb-growing skills, you might want to expand your garden. Here are some ideas:
- Try New Varieties: Experiment with different types of basil (like Thai or lemon basil) or less common herbs like lemon verbena or stevia.
- Grow Vertically: Use hanging planters or a vertical garden system to maximize your windowsill space.
- Companion Planting: Some herbs grow well together and can even enhance each other’s flavors. Try pairing basil with parsley, or rosemary with sage.
- Indoor Herb Garden: If you have a sunny spot away from the windowsill, consider setting up a larger indoor herb garden using a tiered plant stand.
- Hydroponics: For the tech-savvy gardener, a small hydroponic system can be a fun and efficient way to grow herbs indoors.
Remember, gardening is a journey of continuous learning and experimentation. Don’t be afraid to try new things and learn from both your successes and failures.
Conclusion
Congratulations! You’re now equipped with all the knowledge you need to start and maintain a thriving windowsill herb garden. From selecting the right location and herbs to planting, care, and creative uses, you’re well on your way to enjoying the fruits (or rather, herbs) of your labor.
A windowsill herb garden is more than just a convenient source of fresh flavors – it’s a small piece of nature that brings life and vitality to your home. As you nurture your herbs, you’ll find that they nurture you in return, providing not just culinary delights but also a sense of accomplishment and connection to the natural world.
So go ahead, get your hands dirty, and watch as your windowsill transforms into a lush, fragrant, and utterly delicious herb garden. Happy gardening!
